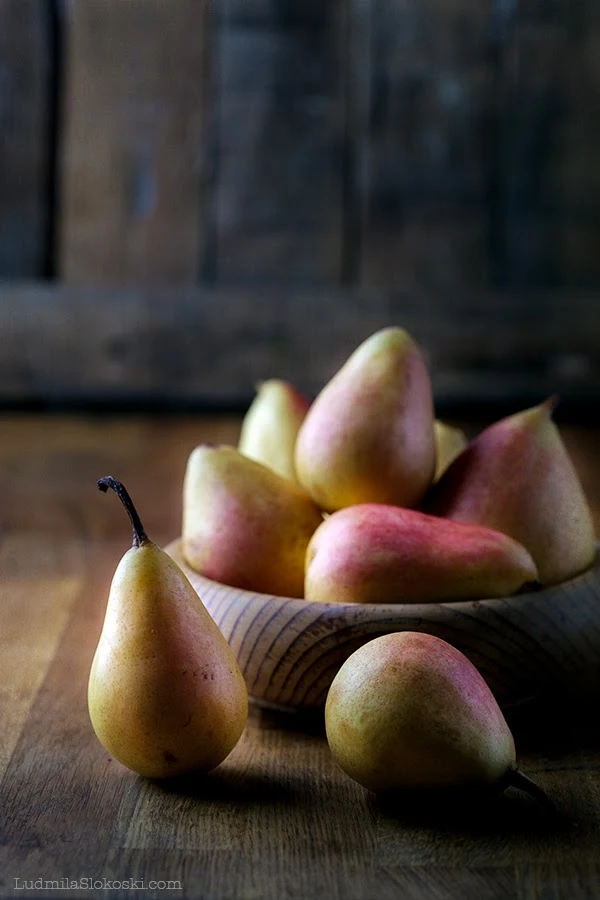
Pear frangipane tart
Long time no see, huh?
Well, a new year has come, new decisions are made, new hopes are on the horizon :)
Today I come with a delightful idea for a winter sweet treat!
These recipe has been made more than a year ago especially for the lovely italian blog Oggi pane e salame, domani.... And now here you have it, to enjoy it in this cloudy January.
Pear frangipane tart
For the pastry
250g plain flour
125g butter, chilled,
chopped
1/3 cup caster sugar
1 egg yolk
1 tablespoon chilled water
plain flour, for dusting
For the frangipane filling
100g butter, softened
100g caster sugar
70g mix of ground almonds, walnuts, cashews
100g self-raising flour
2 large eggs
1 tsp ground cardamom
50g toasted flaked almonds, plus a few extra for sprinkling
Topping
4 small ripe pears
squeeze of lemon juice
drizzle of honey
Combine flour, butter and sugar in a food processor. Process until mixture resembles fine breadcrumbs (or do this with your hands). Add yolk and chilled water. Process until dough just comes together. Wrap in cling film and chill for 1 hour.
Roll out the pastry on a lightly floured surface until big enough to line a 28x12cm tart tin. Carefully lift the pastry into the tin, leaving any extra hanging over the sides. Prick the base of the pastry with a fork, sit the tin on a baking sheet and chill for 30 mins.
Heat oven to 200C. Line the pastry with baking paper and fill with baking beans. Put in the oven and bake blind for 15 mins. Remove the beans and paper, and bake for a further 10 mins until the pastry is biscuity. Allow to cool.
Decrease the temperature of the oven to 160C, and trim the pastry edges.
To make the cardamom frangipane, beat all the ingredients together with an electric whisk. Dollop into the tin and spread evenly to fill. Peel, halve and core the pears – scoop out the core with a baller spoon, if you have one. Brush with a little lemon juice. Arrange the pears in the tin, pushing them a little into the frangipane. Scatter with a few more flaked almonds and bake for 50 mins until the filling is risen, golden and firm to the touch. Serve warm or cold, drizzled with a little honey.
Франджипанов тарт с круши
За тестото
250 г брашно
125 г студено масло, нарязано
1/3 ч захар
1 жълтък
1 с.л. студена вода
брашно, за поръсване
За пълнежа от франджипан
100 г меко масло
100 г захар
70 г смесени смлени ядки (бадеми, лешници, кашу)
100 г брашно с набупвател
2 големи яйца
1 ч.л. смлян кардамон
За топинга
50 г запечени филирани бадеми, плюс още за поръсване
4 малки круши
малко лимонов сок
2-3 с.л. мед
Смесете брашното, маслото и
захарта в кухненски робот, Смелете, докато сместа стане на фини трохи (или го
направете с ръце). Добавете жълтъка и студената вода. Смелете отново, докато
тестото започне да се събира на топка. Завийте с фолио и охладете за поне 1
час.
Разточете тестото на леко набрашнен плот, докато стане достатъчно голямо за
да застелите 28х12 см форма за тарт. Набодете основата с вилица и охладете за
още 30 мин.
Загрейте фурната до 200С. Застелете тестото с хартия за печене и я
напълнете с тежести. Печете 15 мин, махнете тежестите и хартията и печете още
10-15 мин, докато тестото стане златисто и хрупкаво. Оставете да се охлади.
Намалете фурната до 160С, и изрежете краищата на тестената основа.
За да приготвите пълнежа, разбийте заедно всички съставки с миксер.
Пресипете пълнежа върху тестото и заравнете. Обелете и разполовете крушите,
почистете семките с кръгла лъжичка за топчета, ако имате. Намажете ги с малко лимонов сок и ги
подредете върху франджипановия пълнеж, като леко ги притиснете. Поръсете с още
филирани бадеми и изпечете за 50 мин, докато пълнежът бухне и стане златист и твърд
на пипане. Сервирайте сладкиша топъл или студен, поръсен с малко мед.


Красота!
ОтговорИзтриванеПрекрасно е! Благодаря за хубавата идея, Луиз :)
ОтговорИзтриванеIt is a great pleasure going through your site because I love your every post. That's why I have bookmarked your site to check out new stuff from you. Thanks for sharing and coming back ...
ОтговорИзтриване